Spray Foam Tips, Tricks & Troubleshooting – Part Two: How to Fix Abnormal Spray Foam Colors, Textures, and Pressures
You’re a spray foamer.
That’s not an easy thing to be, man.
A lot can go wrong while on the job.
So how the heck do you fix the issues you’re seeing on your job?
The best thing you can do when you notice something amiss with your spray foam? STOP SPRAYING!
Spray foam issues don’t fix themselves. Unlike sore muscles or hiccups, spray foam issues won’t “work themselves out.”
So.
The second you notice that your foam doesn’t look like it should, stop and start thinking about what could be causing the issues you’re seeing.
You can use the information you gain from looking at your foam to get to the bottom of what is going on.
What did you notice that made you stop spraying?
Does the foam color look off?
Is the material coming out of your spray gun displaying an odd texture?
Let’s examine some common pressure issues that occur in a spray foam system, which are often indicated by abnormal foam colors, strange foam textures, and gaps in pressure gauge readings.
(If you haven’t read Part One of this blog post, learn how to form healthy on-the-job habits as a spray foam contractor here!)
Here we go!
Abnormal Spray Foam Color
Even if you’re new to this industry (and if you are, welcome!), you know good foam when you see it.
You can just tell when a spray foam is good and balanced.
The same can be said for imperfect, malfunctioning, or downright crappy foam – when you see it, you know.
You might not know what is wrong, but you can tell something is!
What should you do if you see poorly-functioning foam? Stop spraying and put your thinking cap on!
Often, the spray foam itself can tell us everything we need to know about the issue occurring.
For example, abnormal foam color can one of the simplest indicators that your perfect foam has turned on you.
Spray foam is made when you mix its A and B sides together. The two sides of foam are different colors, and when pressure imbalances occur while spraying, the foam coming out of your spray gun will look more like one side than the other.
Perfect foam is a medium to dark(ish) yellow.
But if there’s too much A-side in the mixture you’re spraying, that nice yellow color will turn very dark – even brown – because A-Side is dark brown.
If there’s too much B-Side in the mix, on the other hand, the material sprayed on the substrate will look abnormally light or whitish, since B-Side is a white-yellow color.
Did you notice a textural issue with your foam, rather than a strange color?
Textures can also be an indicator of a pressure imbalance in your spray foam system.
Abnormal Spray Foam Textures
Maybe the color of your foam isn’t the primary issue you noticed with your foam – maybe you noticed some strange textures, instead.
Has that nice, balanced stream of perfect foam turned crackly or sticky?
Similar to abnormal foam colors, strange foam textures point to a pressure imbalance in your spray foam system.
Crackly or pork-rind-looking textures indicate too much A-side in the foam mixture.
Sticky foam that doesn’t set up correctly, on the other hand, means that B-side is dominating your foam mixture.
When you notice an imbalance in your foam mixture, it’s time to check your pressure gauges and work to fix the issue.
Solving Pressure Imbalances
Color and texture issues are tell-tale signs that something is up with your spray foam system pressure.
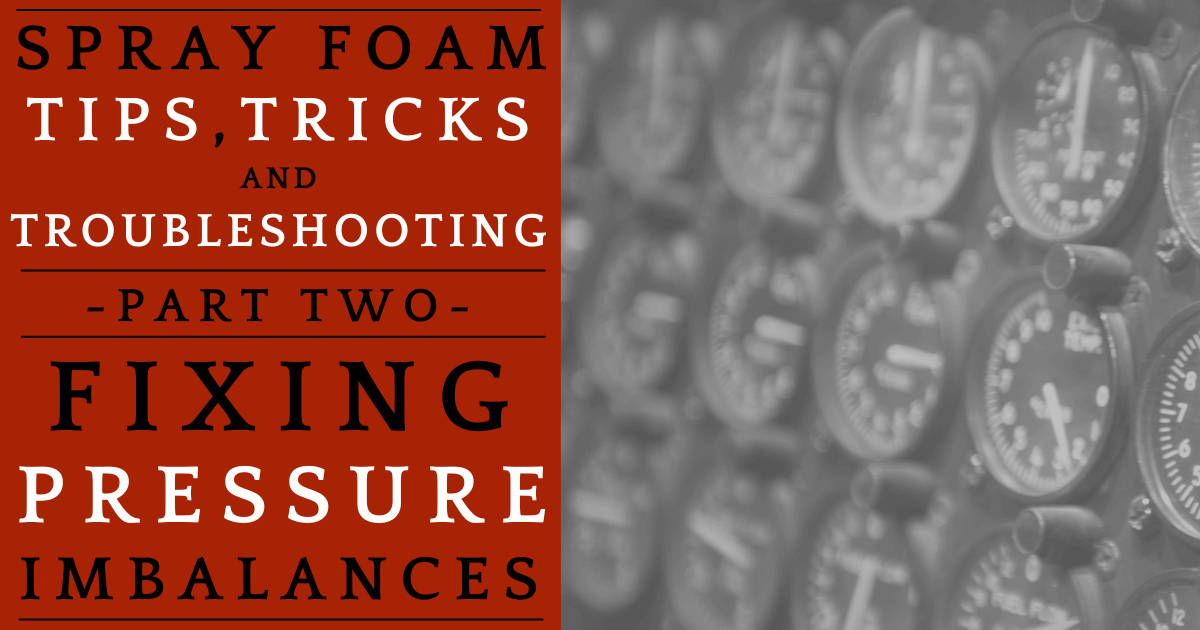
Pressure gauges are installed on your spray foam machine for a reason – to help you spot potential issues with your system pressure!
Sometimes, your pressure gauges can help prevent issues before they happen!
For instance, if you forget to turn on your B-side barrel pump – say, after flushing your A-Side lines before starting work for the day – your pressure gauges would let you know that something is up.
The inherent thickness of B-side can cause some differentiation in pressures between the A-Side and B-Sides gauges, but pressure differences above 500 psi indicate a problem.
Now, don’t panic!
It’s likely your pressure issue is either a (pre-hose) supply issue or a spray gun plug, not a rat (or dragon!) nest stuck along the 38,000 feet of spray hose you lugged up those 57 flights of stairs this morning.
Yes, we exaggerate. Because most spray foam issues are not as horrible as they seem.
(But…the dragons! AHH!)
So, instead of losing your head and burning down the job site (seriously…don’t do that!) start your pressure problem-solving venture by tending to the ends of your spray foam line.
If you notice a substantial gap between readings on your A-Side pressure gauge and the B-side gauge, those readings tell you something!
If your A-side has a high pressure reading, and your B-side reading is low, that means there is either a plug in your A-side (probably in your spray gun or Y screen) or your B-side has a supply issue.
If the opposite is true for your pressure gauges – the B-side reads high and the A-side is low – there is either a B-Side plug, or the A-Side supply is experiencing issues.
Let’s take a look at how to fix these problems.
Check Material Supply and Ensure a Clean Spray Foam Gun
Most plugs along a spray foam line occur either at the beginning – with the supply – or at the end of the line, at your spray foam gun.
Supply issues can be as simple as switching foam material barrels. Check the appropriate barrel levels, and change it if necessary! Done-zo.
If both of your foam barrels are full, ensure that you have a clean spray foam gun.
Yes, we know – cleaning your spray foam gun regularly can be super annoying. But that tiny mixing chamber just gets plugged sometimes, especially if you skipped cleaning your equipment thoroughly after the last time you sprayed.
When in doubt, clean your spray gun.
Okay. Your barrels are full and your spray gun is clean.
Still having pressure issues?
It’s time to check the Y strainer’s filter screen.
Clean or Replace the Y Strainer or Filter Screen
One of the most overlooked issues in a spray foam setup is the Y strainer/filter – also called a “wye screen.”
The purpose of a Y strainer – named for its shape – is to filter out any contaminants that may have found their way into your foam barrel before they enter your spray hose.
This is a widely-used method of “plug prevention” in industries that pump liquid through pipes or hoses.
In a spray foam machine, the Y filter screens are are located on both the A and the B side of the foam machine, and they look like a mesh, cage-like tubes. All foam material passes through its respective side’s Y strainer before entering the spray foam hose.
If your Y screens not cleaned or replaced regularly, these vital pieces of equipment can plug up, causing pressure imbalances in your spray foam system.
So.
If you are experiencing a pressure issue with your foam after you make sure your spray gun is clean and your barrels are full, try cleaning or replacing your Y strainer’s filter screen.
That fixed the issue? Fantastic!
(See? Aren’t you glad you didn’t tell anyone you thought a dragon nest was in your spray hose? Don’t worry – we won’t tell!)
Great work. Now, back to spraying!
Conclusion
Many things can go wrong with a spray foam setup.
But by paying attention to your spray foam – and learning to diagnose and fix the issues you see – you can be back to spraying in no time!
Remember, the number one rule when you notice an issue with your spray foam is to STOP SPRAYING!
We have been where you are. We know how frustrating foam issues can be.
But you’ve got this!
You’ve got a good head on your shoulders. You’ll get this thing figured out!
If you need help figuring out what is wrong with your foam, feel free to give Freedom Foam a call! We will be glad to help work out the clues your spray foam is giving you.
Next time, we will investigate the temperature issues your spray foam can reveal.
Until then, keep a close eye on that foam of yours, and take care!


2 Comments
Comments are closed.